Pocket Letter
Add-ons Tutorial

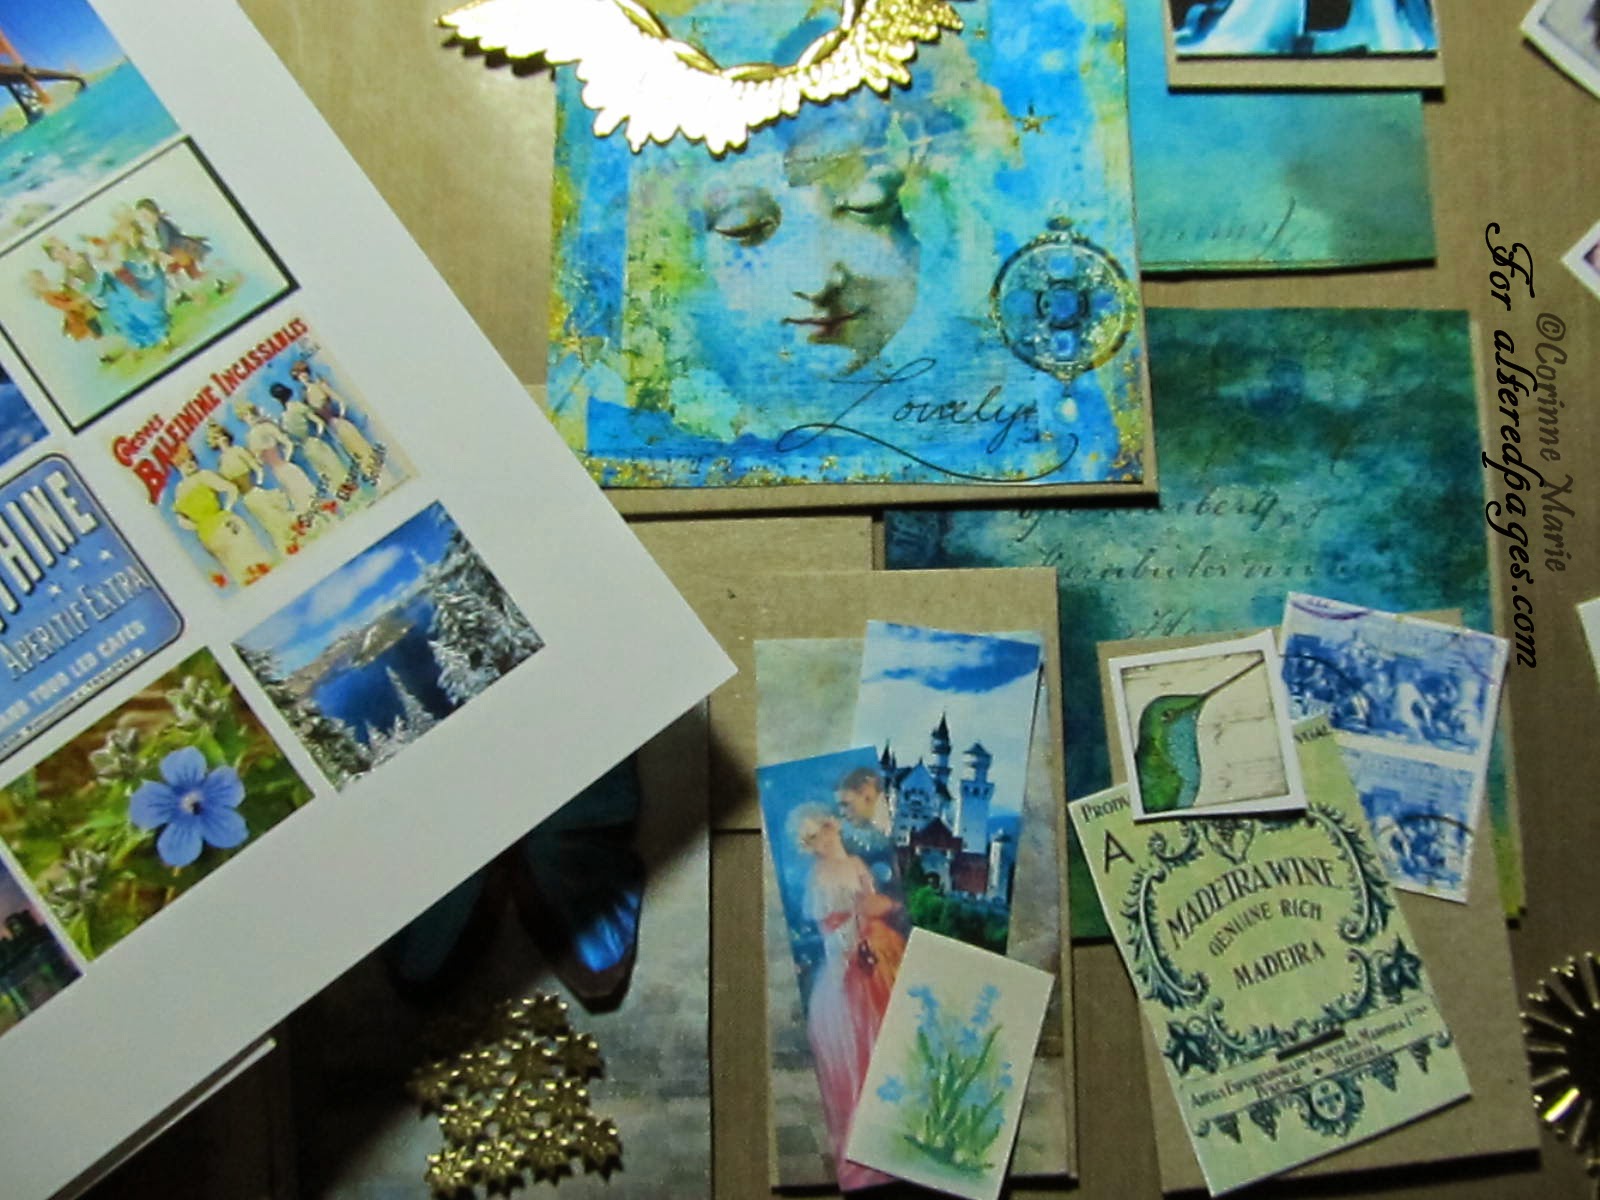
SUPPLIES:
Scapbook papers in various sizes and colors
Corrugated Cardboard
Edging Scissors or Edge punch
Washi tape or other decorative tape
Small images or other focal point for the piece
Pop up dots or mounting tape
Sayings or Words you wish to use
Glue stick, scissors etc.
Basically have your stash out!! :)

STEPS:
First cut your scrapbook paper to the size pocket size.
You can also make small versions of this to place inside pockets too!
I use the edge distresser to rough up the edges.

Next I cut smaller pieces of scrapbook paper the coordinates with
the image I am using. I either cut with edging scissors or distress
it as well. Also I add the washi tape to put a little bling to the piece.

I place the smaller paper on with a pop dot or mounting tape.

I add the corrugated cardboard....where I like it, either
with glue stick or pop dot.
I create the saying or word sign and add it to the cardboard area.
I add the small image to be used for the piece.

I add some small decorative dots (ladybugs) or you can use glitter,
Pearl paints, stickles etc. for some more bling. Also flowers,
ribbon, or whatever you have in your stash!
There you have it...you can put this in a pocket...the 3-D is not
so high that it wont fit into a pocket...you just have to ease it in a bit.
This is a Beatrix Potter Pocket Letter I am doing for a swap
that contains some of the add-ons:

Happy Creating!!! Please post what you create on the Pocket Letter
group on Facebook, I would love to see your versions!!